I always think our feline friends should get the best. That’s why I love making homemade cat treats. With just a few simple things, you can make yummy snacks for your kitty.
Making DIY cat snacks is super easy. Some recipes need only four ingredients and take about 35 minutes. These treats are not only tasty but also healthier. By making them yourself, you know exactly what’s in them.
There are so many kinds of cat treats you can make. You can make tuna crunchies or salmon bites. You can even make them fit your cat’s taste or health needs. Whether your cat likes chicken, fish, or veggies, there’s a homemade treat for them.
Why Make Your Own Cat Treats?

I’ve been making cat food at home for two years. I couldn’t go back to store-bought food now. Making healthy cat treats at home has many benefits. Here’s why I love making natural treats for my cat.
Benefits of Homemade Cat Treats
When I make treats at home, I know what’s in them. No mystery ingredients or additives. It’s just pure, wholesome goodness for my cat. Plus, my cat is more energetic and her coat looks shinier since I started making homemade treats.
Avoiding Artificial Ingredients and Fillers
Many commercial treats have artificial colors, flavors, and fillers. By making treats at home, I avoid these. I use nutritious ingredients like chicken, salmon, and pumpkin. These are good for cats.
Customizing Treats for Your Cat’s Preferences
Every cat is unique, and homemade treats let me tailor them. I can change flavors, textures, and sizes to what my cat likes best. It’s fun to try new things and see what she enjoys.
| Benefit | Homemade Treats | Store-Bought Treats |
|---|---|---|
| Ingredient Control | 100% control | Limited control |
| Customization | Fully customizable | Limited options |
| Freshness | Always fresh | Varies |
| Cost-effectiveness | Often cheaper | Can be pricey |
Essential Ingredients for Healthy Cat Treats
I love making feline treats at home. I’ve found some key ingredients that are both nutritious and delicious for cats. Chicken, salmon, and tuna are excellent choices that cats adore.
Eggs are another fantastic ingredient, packed with protein. They are easy to incorporate into various recipes. For added nutrition, I often include pumpkin in my homemade cat treats. It’s great for digestion and adds a unique flavor cats enjoy.
When it comes to binding ingredients, I prefer using whole wheat flour, oats, or coconut flour. These options provide fiber and help maintain the treat’s shape. For an extra boost of nutrients, I sometimes add small amounts of finely grated carrots or spinach to my recipes.
| Ingredient | Benefits | Usage Tips |
|---|---|---|
| Chicken | High-quality protein | Use 200g for Organic Treats with Spinach |
| Salmon | Omega-3 fatty acids | Combine with coconut flour for grain-free options |
| Pumpkin | Fiber, aids digestion | Mix with chicken for tasty bites |
| Catnip | Enticing aroma | Add to tuna croutons, bake for 8 minutes |
It’s important to avoid toxic ingredients like grapes, raisins, onions, and chocolate when making cat treats. By focusing on these wholesome ingredients, you can create delicious and nutritious feline treats that your cat will love.
Quick and Easy Homemade Cat Treats

I love spoiling my feline friends with homemade goodies. Making cat biscuits at home is easy. Let’s check out some quick kitty treat recipes that will make your cat happy.
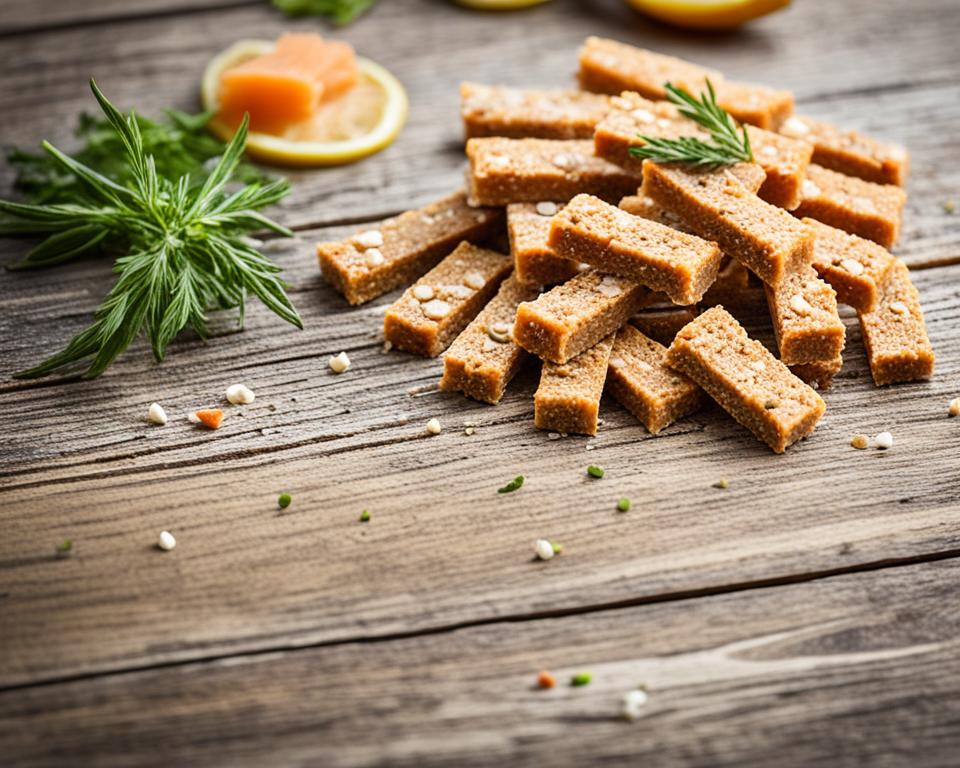
Three-Ingredient Salmon Cat Treats
These salmon treats are a big hit with cats. They have a 4.59 out of 5 rating from 416 votes. You’ll need canned salmon, an egg, and whole wheat flour. Bake them at 350°F for 20 minutes.
This recipe makes about 120 treats. It’s great for stocking up.
Tuna and Catnip Croutons
Try tuna and catnip croutons for a crunchy treat. Mix tuna, a bit of catnip, and coconut flour. Cut into small squares and bake until they’re crispy.
These treats are grain-free. They’re perfect for cats with sensitive stomachs.
No-Bake Tuna Balls
For when it’s too hot to bake, no-bake tuna balls are the answer. Mix tuna, shredded cheese, mashed peas, and oats. Roll them into small balls and chill in the fridge.
These treats are ready in minutes. They last up to a week in the fridge.
| Recipe | Prep Time | Cook Time | Yield |
|---|---|---|---|
| Salmon Treats | 20 mins | 20 mins | 120 treats |
| Tuna Croutons | 15 mins | 15 mins | 60 croutons |
| No-Bake Balls | 10 mins | 0 mins | 30 balls |
These kitty treat recipes are easy and healthy. By making cat biscuits at home, you can choose the best ingredients for your cat. Always store treats in an airtight container and use them within two weeks for the best taste.
Grain-Free Options for Sensitive Felines

Some cats have sensitive tummies or allergies to grains. That’s why I love making grain-free homemade cat treats. They’re great for cats with dietary restrictions.
Chicken and Pumpkin Bites
These treats mix chicken and pumpkin. The pumpkin adds fiber, and the chicken gives protein. They’re soft and easy to chew, perfect for older cats or those with dental issues.
Salmon and Coconut Flour Treats
These treats have a fishy flavor from canned salmon, coconut flour, and egg. Coconut flour helps bind the ingredients without grains. They’re full of omega-3 fatty acids, which are good for your cat’s coat and skin.
When making homemade cat treats, remember they should be only 10% of your cat’s diet. I keep them in the fridge to stay fresh. Making cat food at home is easy and healthy!
- Use single-source proteins like chicken or salmon
- Add pumpkin for fiber and digestive health
- Coconut flour is a great grain-free binder
- Store treats in the refrigerator for longevity
By making these grain-free treats, I give my cat tasty snacks without fillers or artificial ingredients. It’s good for both of us!
Homemade Cat Treats for Special Dietary Needs
I love making healthy cat treats for my feline friends. Cats with special health needs can enjoy customized natural treats. Let’s look at some options for cats with certain dietary needs.
For cats with hairballs, I make treats with pumpkin and ground flax. These help with digestion and reduce hairballs. My treats are low in calories and have lean proteins and veggies. They’re great for cats who need to lose weight.
Cats with kidney issues need extra care. I make treats with low-phosphorus ingredients to help their kidneys. Here’s a simple recipe I use:
- 2 cans tuna (not drained)
- ½ cup cooked pumpkin
- 3 egg yolks
- ½ cup coconut flour
These ingredients make tasty, kidney-friendly treats. Each treat has only 5 calories and 1g of protein. They’re perfect for cats on a special diet.
Always talk to your vet before giving new treats to your cat, especially if they have health issues. Adding these special treats to your cat’s diet can help with their health. It also helps manage specific health problems.
Fun Shapes and Sizes for Cat Treats
I love making DIY cat snacks that are tasty and look good. Playing with different shapes and sizes makes them more fun. Let’s look at some creative ways to make your homemade treats stand out!
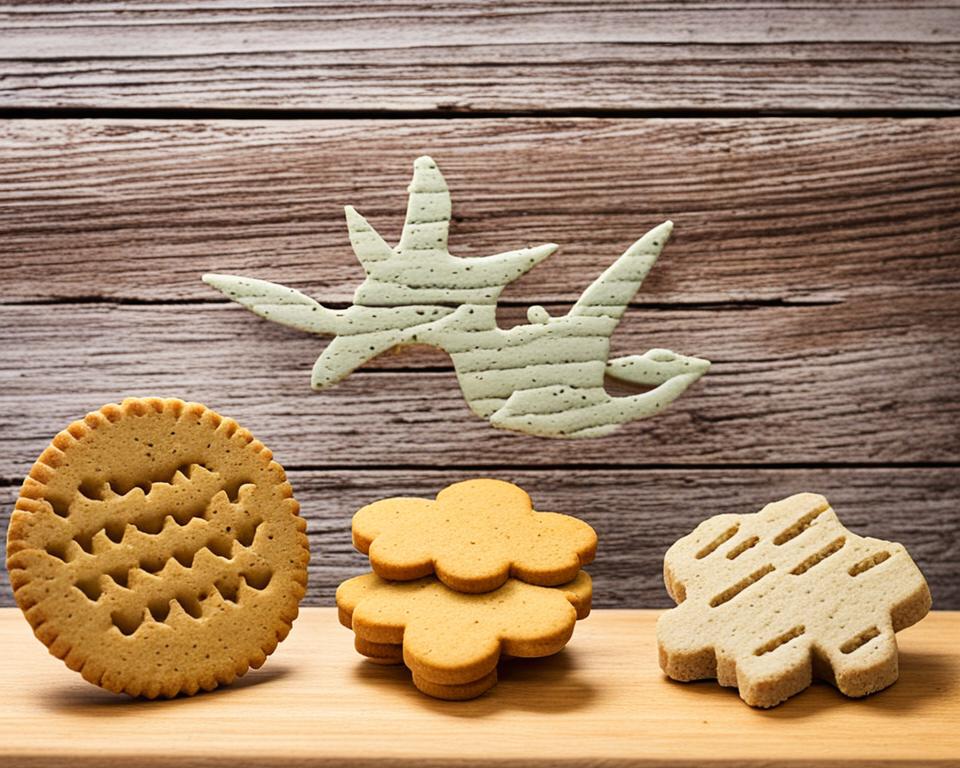
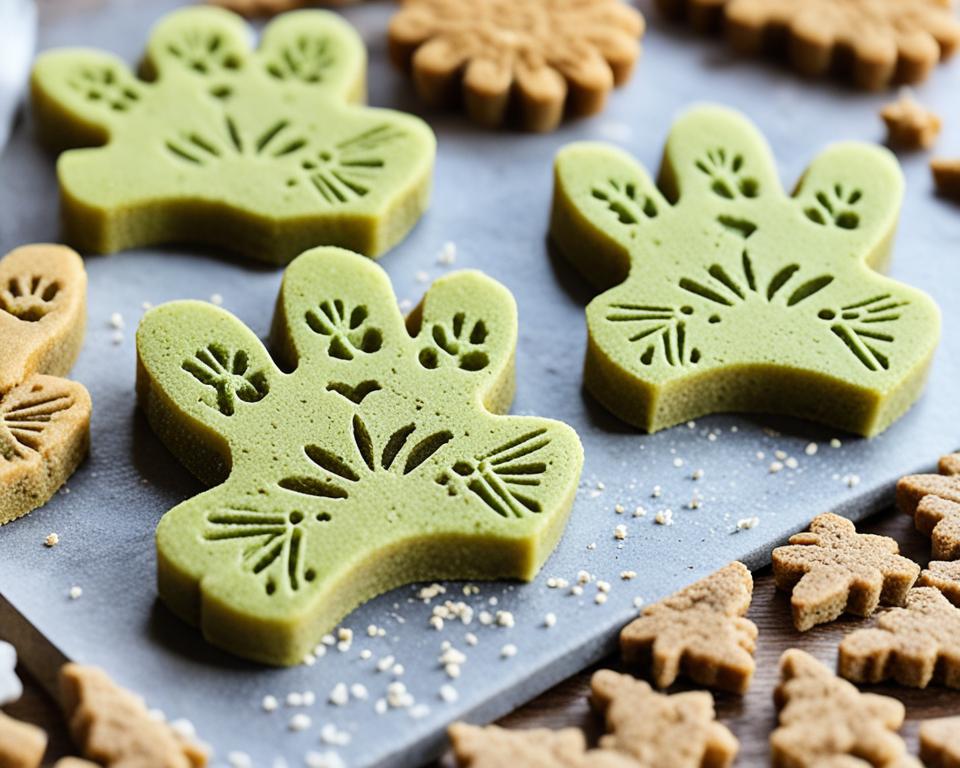
Using Cookie Cutters for Appealing Designs
Cookie cutters change the game for making cute cat treats. I use small cutters like fish, mice, or paw prints. This makes treats that catch my cat’s eye.
When I roll out dough, I aim for about 1/4 inch thickness. This is good for most DIY cat snacks and helps them bake evenly.
Bite-Sized Treats for Training and Rewards
Smaller treats are great for training or quick rewards. I shape these by hand, making tiny balls or small cubes. These treats are cute and useful.
They let me give many rewards without overfeeding my cat.
| Treat Shape | Best Used For | Average Size |
|---|---|---|
| Fish | Special occasions | 1.5 inches |
| Paw prints | Everyday treats | 1 inch |
| Tiny balls | Training rewards | 0.5 inches |
Variety is key with cat treat recipes. Mixing up shapes and sizes keeps treat time fun for your cat. Whether you’re baking salmon bites or tuna crunchies, these fun shapes will make your DIY cat snacks irresistible!
Storage and Shelf Life of Homemade Cat Treats
Proper storage is key for homemade cat treats. They should be kept fresh and safe for your cat. Most dry ingredient cat biscuits can be stored in airtight containers at room temperature for two weeks.
For longer freshness, refrigeration is a good choice. Homemade cat treats can last a month in the fridge. If you have many cats, making big batches is smart. Freezing is best for these treats, keeping them fresh for three months. First, freeze them on a baking sheet, then move to airtight containers.
Always label your containers with the treat’s make date. This keeps track of freshness. Check for spoilage signs before giving treats to your cat. If they smell bad or look moldy, throw them away. Making homemade cat treats is to give our pets safe, healthy snacks.

