DIY pet grooming is rewarding. It saves money and strengthens your bond with your pet. With the right tools and techniques, caring for your pet at home is easy. Let’s look at some tips for grooming your pet at home to keep them looking and feeling great.
For long-haired dogs, groom them every 4-8 weeks. Short-haired dogs need a bath once a month. Brushing them a few times a week keeps their coat healthy and reduces shedding.
Trimming their nails every 3-4 weeks helps prevent paw pain. Brushing their teeth daily keeps gum disease away.
Remember, 90% of successful grooming at home is before you start. Building trust and comfort with your pet is important. With patience and practice, grooming your pet at home can be fun for both of you.
Essential Grooming Tools for Your Pet
Having the right pet grooming tools is key for DIY pet grooming. With the right gear, you can turn your home into a pet salon. Let’s look at the must-have items for grooming at home.
Brushes and Combs for Different Coat Types
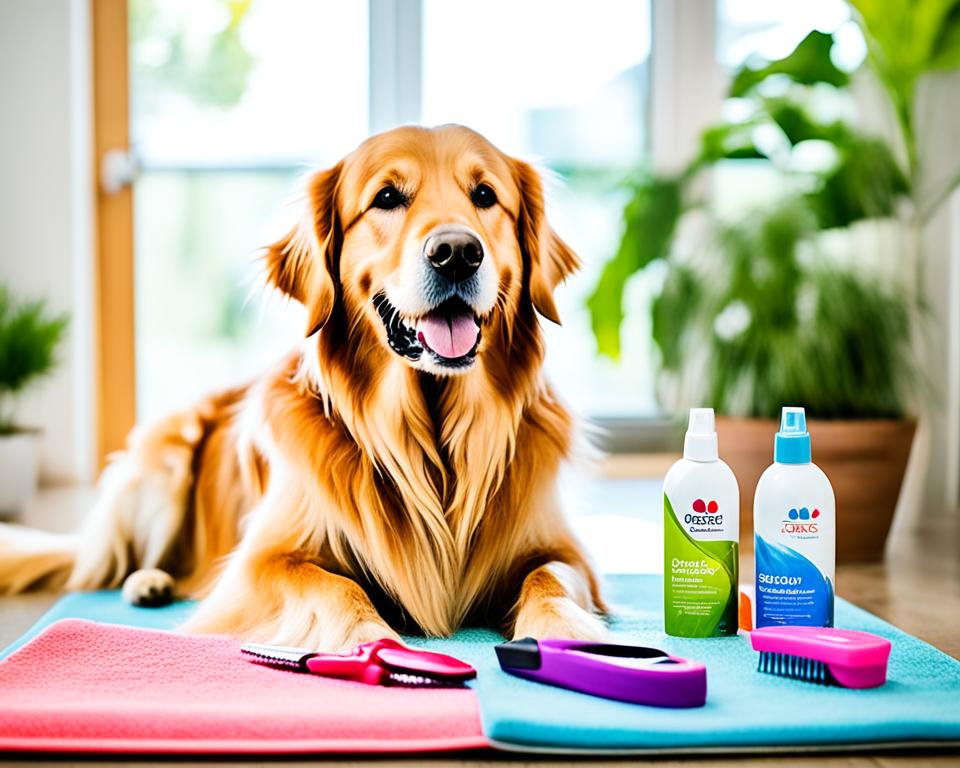
Choosing the right brush is vital for your pet’s coat health. For dogs with thick coats, I use various brushes to get rid of hair from different layers. Slicker brushes are perfect for detangling long-haired breeds, and rubber-bristled brushes are great for short-haired pets.
Nail Care Equipment
Nail care is key in at-home pet care. I suggest using clippers made just for dogs. For pets with black nails, which are hard to trim, a nail grinder is safer. Regular trimming helps the quick move back, making future grooming easier.
Bathing Supplies
For bathing, I always pick pet-specific shampoo to keep their coat and skin healthy. Microfiber towels are great for drying, and a hair dryer can dry your pet faster if they allow it. Using an Aquapaw Slow Treater makes bathing fun for DIY pet grooming!
“Regular grooming helps pets look good and feel good, contributing to their overall well-being.”
Investing in quality pet grooming tools makes grooming easier and strengthens your bond with your pet. With these essentials, you’re set for successful at-home pet care.
Understanding Your Pet’s Coat Type

Knowing your pet’s coat type is key for good DIY pet grooming. There are many coat types, from short and smooth to long and curly. Each type needs its own brushing and care.
Short-coated breeds like Beagles and Labrador Retrievers are easy to care for. I brush them with a curry brush a few times a week. Medium-coated breeds such as Corgis and German Shepherds need brushing every other day, especially when they shed.
Long-haired pets like Maltese and Yorkshire Terriers need daily brushing to prevent tangles. Regular brushing keeps them looking great. Wire-coated dogs, like Jack Russell Terriers and Schnauzers, need their coats hand-stripped.
| Coat Type | Grooming Frequency | Recommended Tools |
|---|---|---|
| Short | Weekly | Curry brush |
| Medium | Every other day | Slicker brush |
| Long | Daily | Pin brush, comb |
| Wire | Weekly | Stripping knife |
| Curly | 2-3 times a week | Slicker brush, comb |
Curly-coated breeds like Poodles need special care. I use a conditioning spray and a pin brush to keep their curls looking great. For double-coated breeds such as Siberian Huskies, weekly de-shedding helps manage their thick undercoat.
Knowing your pet’s coat type is key to good DIY pet grooming. It helps you pick the right tools and routine. This keeps your pet’s coat healthy and beautiful.
Tips for pet grooming at home
Learning to groom your pet at home saves time and money. It also strengthens your bond with your pet. Creating a calm space and sticking to a routine are important for good grooming at home.
Creating a Comfortable Grooming Environment
To make grooming at home good for your pet, set up a quiet spot. This makes them feel safe and calm. Use a non-slip mat to prevent slipping and keep all your tools ready.
Establishing a Grooming Routine
Being consistent with grooming is key. A regular schedule helps your pet get used to it. For pets with long hair, brush them once a week. Short-haired pets might only need brushing every two weeks.
Positive Reinforcement Techniques
Using treats and praise during grooming makes it better for your pet. Start with short sessions and slowly add more time. This helps your pet get used to it.
| Coat Type | Brushing Frequency | Recommended Tools |
|---|---|---|
| Long (e.g., Golden Retriever) | 1-3 times per week | Slicker brush, metal comb |
| Short (e.g., Labrador) | Every 1-2 weeks | Bristle brush, grooming mitt |
| Wiry (e.g., Terrier) | 2-3 times per week | Stripping comb, slicker brush |
Patience is important in caring for your pet at home. By following these tips, you’ll get better at grooming your pet. With time and effort, grooming can become a fun way to bond with your pet.
Brushing Techniques for Different Coat Types
Learning how to brush your pet is key for good DIY pet grooming. Each coat type needs special care to keep your pet looking great. Let’s look at the best ways to brush different coats to improve your pet’s coat care.

For smooth-coated breeds like Pugs, Pit Bulls, and Beagles, brush them once a week with a rubber-bristled brush. This removes loose hair and spreads natural oils, making their coat shiny. Double-coated breeds such as Labrador Retrievers need brushing every other day. During shedding seasons, brush them daily.
Long-haired or silky-coated pets do well with a wire slicker brush and a steel comb. This combo detangles and removes loose fur well. For curly-coated breeds like Poodles, use a wide-toothed comb first to prevent breakage. Then, use a slicker brush for a shiny look.
| Coat Type | Brushing Frequency | Recommended Tools |
|---|---|---|
| Smooth | Weekly | Rubber-bristled brush |
| Double | Every 2-3 days | De-shedding tool, slicker brush |
| Long/Silky | Daily | Wire slicker brush, steel comb |
| Curly/Wavy | Daily | Wide-toothed comb, slicker brush |
Always brush in the direction of hair growth to avoid discomfort and spread oils evenly. Regular brushing keeps your pet looking good and strengthens your bond. It’s a key part of pet care that leads to a healthier, happier pet.
Bathing Your Pet: Step-by-Step Guide
Bathing your pet is a key part of DIY pet grooming. I’ll share some pet bathing tips to make the process easier for both you and your furry friend. Remember, the frequency of baths depends on your pet’s needs – some might need monthly baths, while others can go longer between washes.
Pre-Bath Preparation
Before you start, gather all your supplies. Brush your pet thoroughly to remove loose fur and tangles. This makes the bathing process smoother and more effective. For at-home pet care, create a calm environment to help your pet feel relaxed.
Choosing the Right Shampoo
Pick a shampoo made specifically for pets. Human shampoos can disrupt your pet’s skin pH and cause irritation. If your pet has skin issues, consult your vet for recommendations. Some pets might benefit from medicated shampoos as part of their treatment plan.
Proper Bathing Technique
Use lukewarm water and wet your pet’s coat thoroughly. Apply diluted shampoo and massage it gently into the fur. Be careful around the eyes and ears. Rinse completely to prevent skin irritation. For long-haired pets, you might need to repeat the process.
Drying Methods
After bathing, use a microfiber towel to absorb excess water. For pets with thick coats, you can use a low-heat dryer. Keep the dryer moving to prevent burns. If your pet has floppy ears, clean the outer ear areas with a damp cloth.
Remember, regular grooming sessions are great for bonding with your pet. They also give you a chance to check for any unusual bumps or skin changes. With these pet bathing tips, you’ll be a pro at DIY pet grooming in no time!
Nail Trimming: Safe and Stress-Free Approaches
Pet nail trimming is key to DIY pet grooming and at-home care. Regular nail care keeps pets comfy and healthy. Dogs usually need a trim every three to four weeks, but some may need more.
Many pets are scared of nail trimming. In fact, 83% of vets find it hard. I introduce nail care tools slowly and use positive rewards. This makes nail trimming a good experience for pets.

- Use sharp, pet-specific nail clippers or grinders
- Trim small amounts gradually, especially for dark nails
- Keep styptic powder handy for accidental bleeding
- Consider a Dremel grinder for smoother edges
If you’re not sure about how to do it, get help from a pro. Remember, be patient with DIY pet grooming. With practice and positive rewards, nail trimming can be easy at home.
| Aspect | Percentage |
|---|---|
| Pet owners experiencing stress during nail trimming | 78% |
| Pets with fear of nail trims due to past experiences | 65% |
| Pet owners using proper nail trimming techniques | 42% |
| Pet owners investing in quality nail trimming tools | 55% |
Ear Cleaning and Maintenance
Cleaning your pet’s ears is key to their grooming and health at home. Regular ear care can stop many common problems. Let’s look at how to keep your pet’s ears healthy and clean.
Signs of Ear Problems
Watch for signs of ear issues in your pet. Look out for:
- Redness or swelling
- Unpleasant odor
- Excessive scratching or head shaking
- Discharge or debris in the ear canal
If you see these signs, act fast. Ear problems hurt pets and need quick action.
Proper Cleaning Techniques
Here’s how to clean your pet’s ears at home:
- Use a pet-specific ear cleaner
- Gently wipe the visible part of the inner ear
- Avoid pushing too deep into the ear canal
- Clean until no more dirt appears on the wipe
Dogs that swim or have floppy ears, like Cocker Spaniels, may need more cleaning. Most pets do well with weekly ear cleaning as part of their grooming.
When to Seek Professional Help
While you can groom your pet at home, some issues need a vet. Get help if:
- Your pet shows discomfort during cleaning
- You notice persistent ear problems
- There’s excessive wax buildup or a foul odor
Professional groomers can also clean your pet’s ears well. They know how to do it safely and can catch problems early.
| Breed Type | Cleaning Frequency | Special Considerations |
|---|---|---|
| Floppy-eared (e.g., Basset Hounds) | 1-2 times per week | More prone to infections |
| Short-haired | Once a week | Generally less prone to ear issues |
| Swimmers | After each swim | Need extra care to prevent moisture buildup |
Dental Care for Pets at Home
Pet dental care is key to DIY pet grooming. I’ve found that dental plaque can turn into tartar in just 24-48 hours. So, daily brushing is crucial.
I use a soft-bristled toothbrush and pet-specific toothpaste in flavors like chicken or peanut butter. This makes brushing teeth fun for my furry friend.
The Veterinary Oral Health Council (VOHC) says toothbrushing is the best way to care for pet teeth. I brush the outer teeth where plaque gathers. I also give my pet VOHC-approved dental treats like Greenies or Purina DentaLife.
These treats help reduce tartar and keep my pet’s breath fresh.
Regular home care can stop gum disease and save on vet bills. I watch for signs like bad breath or bleeding gums. For small dogs with tight teeth, I’m extra careful with their dental care.
But, remember, home care isn’t enough. Annual vet check-ups are still needed for the best dental health.

